How to install skin in Minecraft PE?
Download Download
When you join Minecraft PE (Bedrock) servers, you’ll notice that many players use custom skins. You can also set up your own skin, and if you’re unsure how to do it, this guide is here to help.
About Skins:
The process of installing skins in MCPE is very user-friendly. Not only can you choose from 3D skins, but you can also edit the default Steve and Alex skins.
How to Install a Skin:
Open Your Profile: First, click on the profile button located below your current skin.
Edit Character or Open Wardrobe: Then, either click on “Edit Character” or the wardrobe icon.
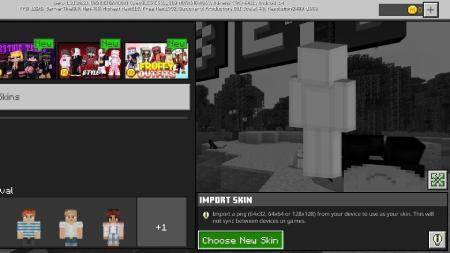
Select the Skin Icon: Next, click on the doll icon representing the skin.
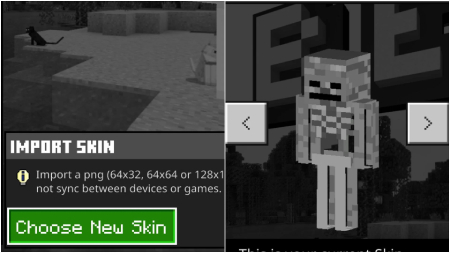
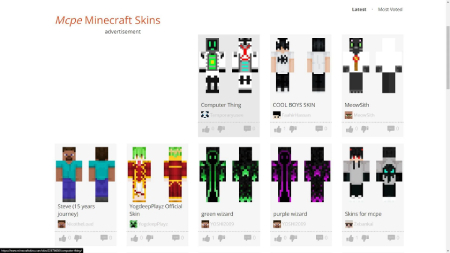
Choose a New Skin: Click “Choose New Skin,” and you’ll be taken to your file manager. From there, select the skin you’ve downloaded. You can download skins from our website in the skins section.
Select Version: Upon importing, you can choose between the female version (left) and the male version (right). As you’ll see, the female version has narrower shoulders.
Follow these steps, and you’ll have your new skin ready to show off in no time!